This article will highlight the controls of Realm VTT when a Scene is loaded.
Token Placement
Most Compendium types can be placed on the Scene. To place a Token, open either the Characters or NPCs list from and click and drag the desired Character or NPC to the Scene.
The Token that has been set for that NPC or Character will be rendered to the scene and be able to be moved once it has fully loaded.
Players can only move tokens for:
Characters they own
NPCs that are marked “Friendly” using the right-click Token Context Menu
Placing Tiles, Journals, Sounds, and other Types
Tiles
You can place a “Tile” (an image used for a bridge, roof, etc) to the Scene by clicking and dragging an Image to the scene. The Tile will then be loaded into the Scene and you can then click and drag the images to move them, right click an image or use Arrow Keys to rotate it, adjust the scale, and the “depth” (whether it is below or above tokens.)
Journals
The GM can places Journals on the Scene for quick reference that only they can see. A Journal can then be opened and viewed by clicking on it, or clicking and dragging it to move elsewhere. Right-click a link to a Journal to remove it, or change the name, or the page in which it opens on the linked Journal.
Sounds
Sounds are added to the Scene by dragging them as well, and can be editing using the Scene Controls.
Other Record Types
Other record types as defined by the ruleset can be added to the scene, and display the portrait for the record (if applicable) in the designated grid location. This is useful for showing loot-able containers or items on the Scene to Players.
Movement and Token Info
View Token Info
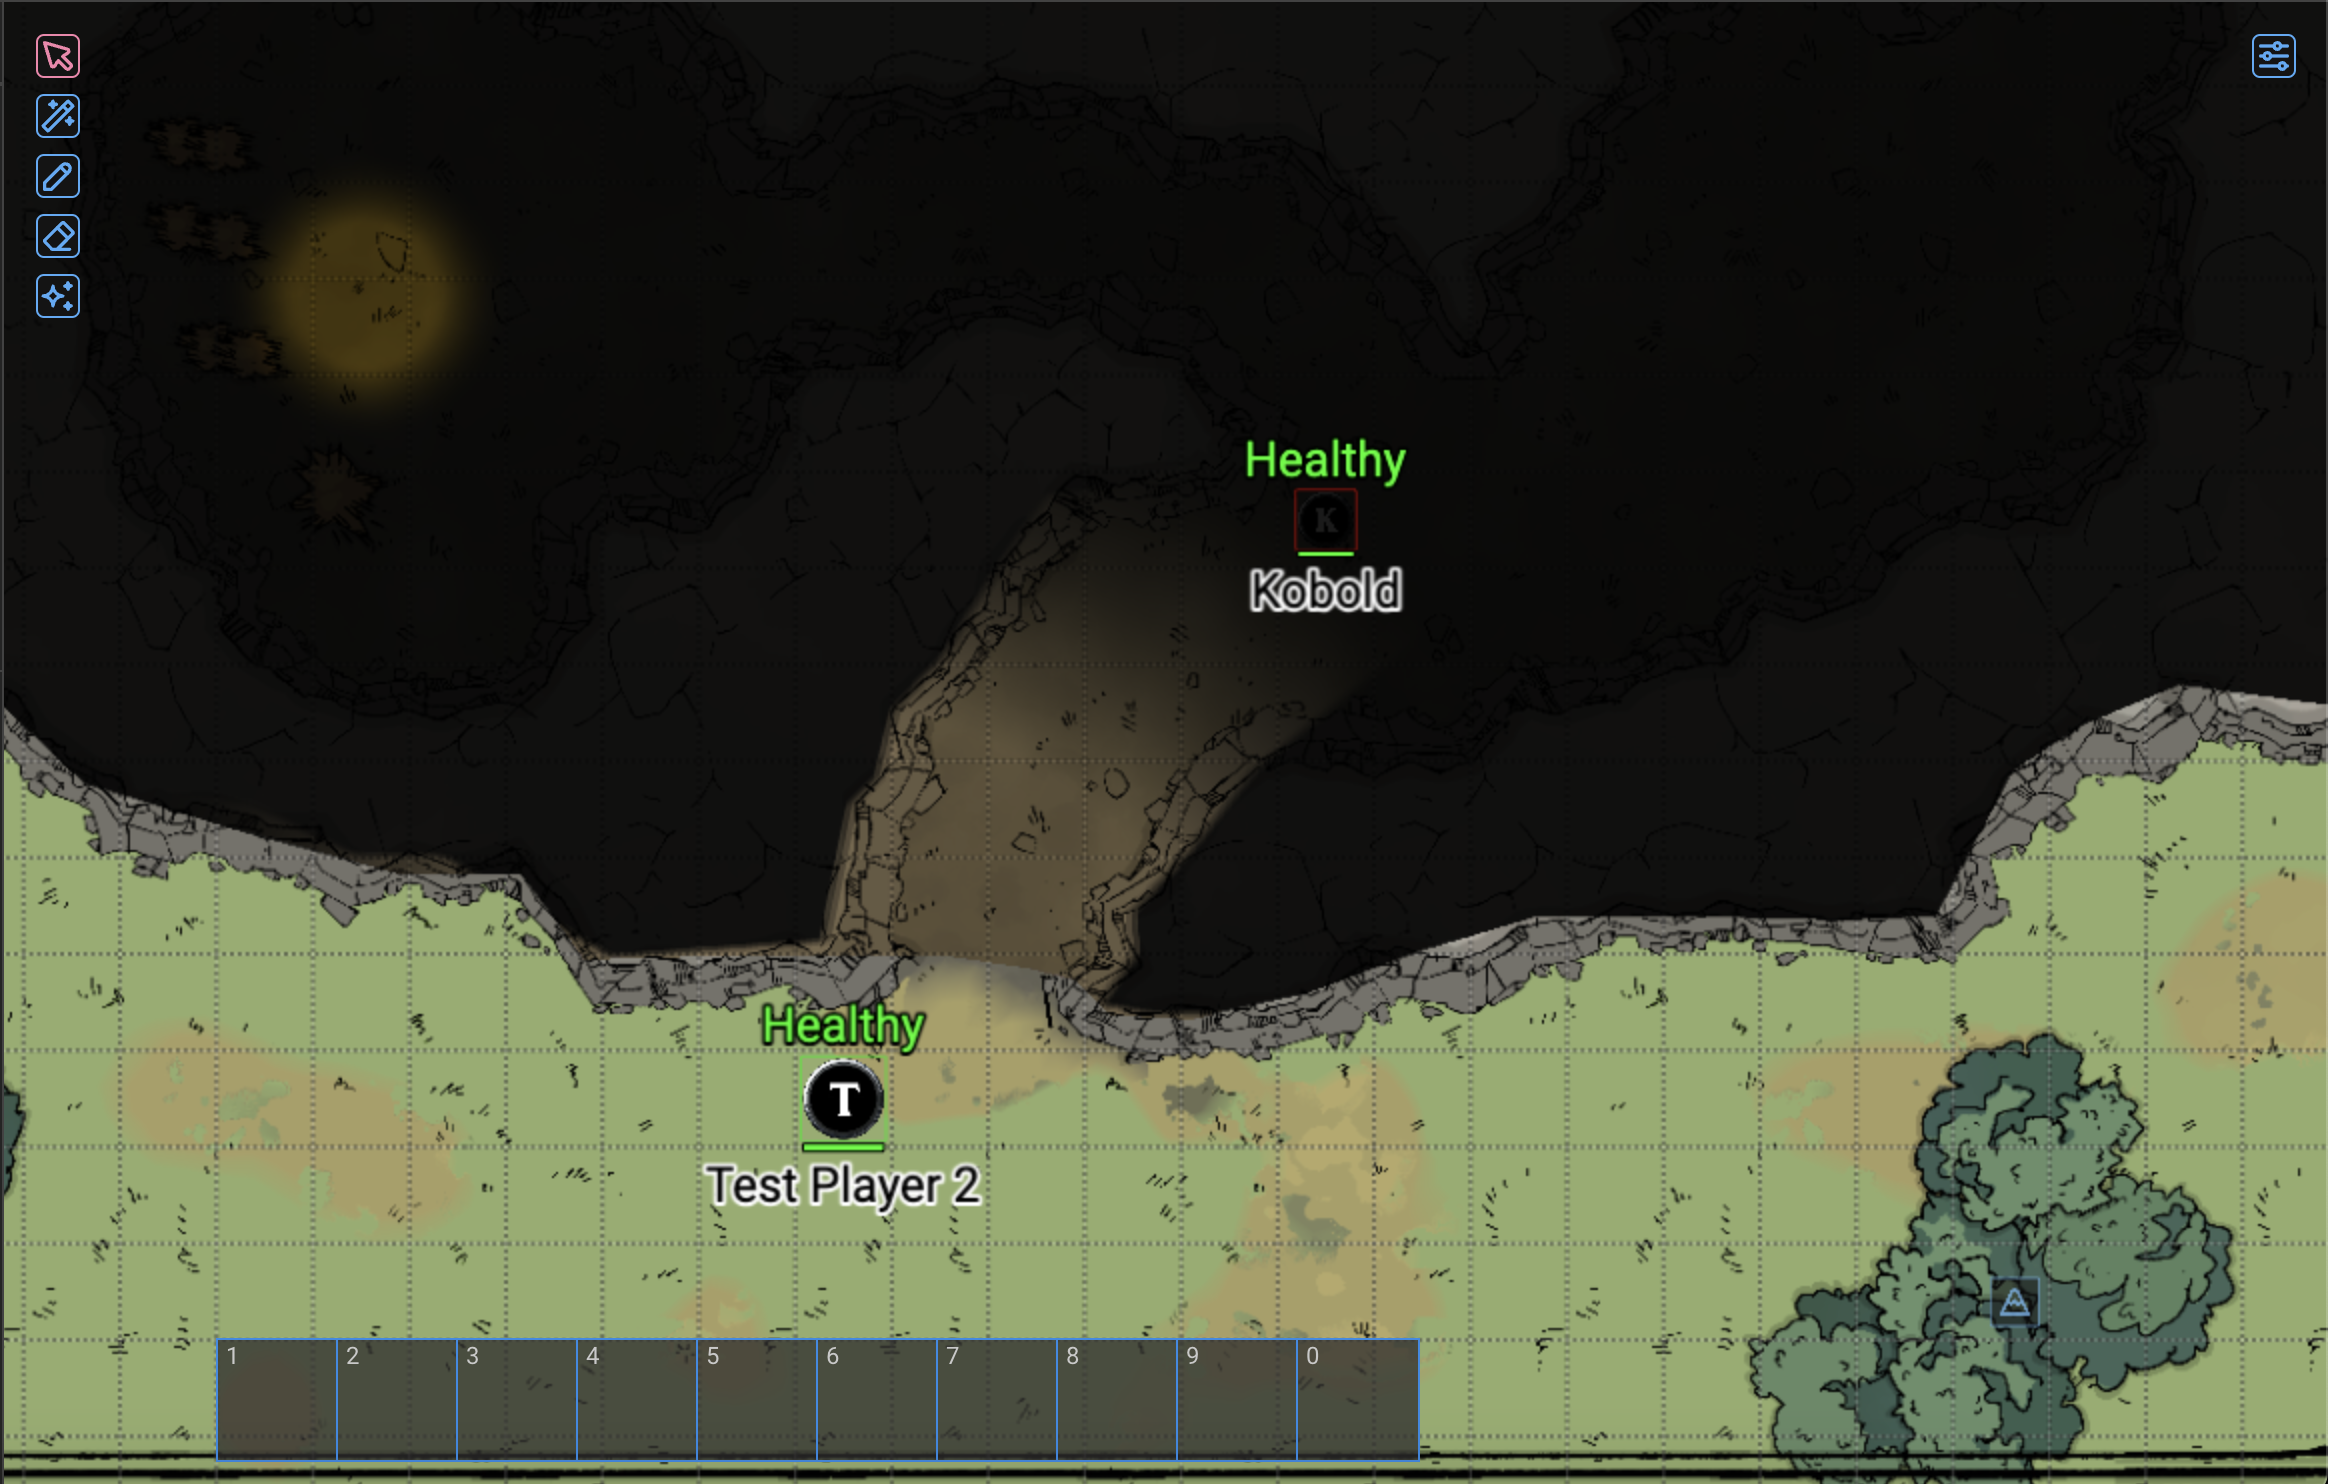
A Token’s Name and Health State can be viewed by mousing over it. Holding the “Alt” key will show all Tokens and Journals placed on the scene. (Links to Journal Entries can be placed by clicking and dragging one to a Scene.)
If the Ruleset has Health settings enabled, you will see a Health state and a Health Bar for the token on the Scene. Players will only see the Health State for an enemy token and will not see the Health Bar.
If a token is Unidentified, it will show the Unidentified Name of that NPC on the Scene and in the Combat Tracker.
Token Movement
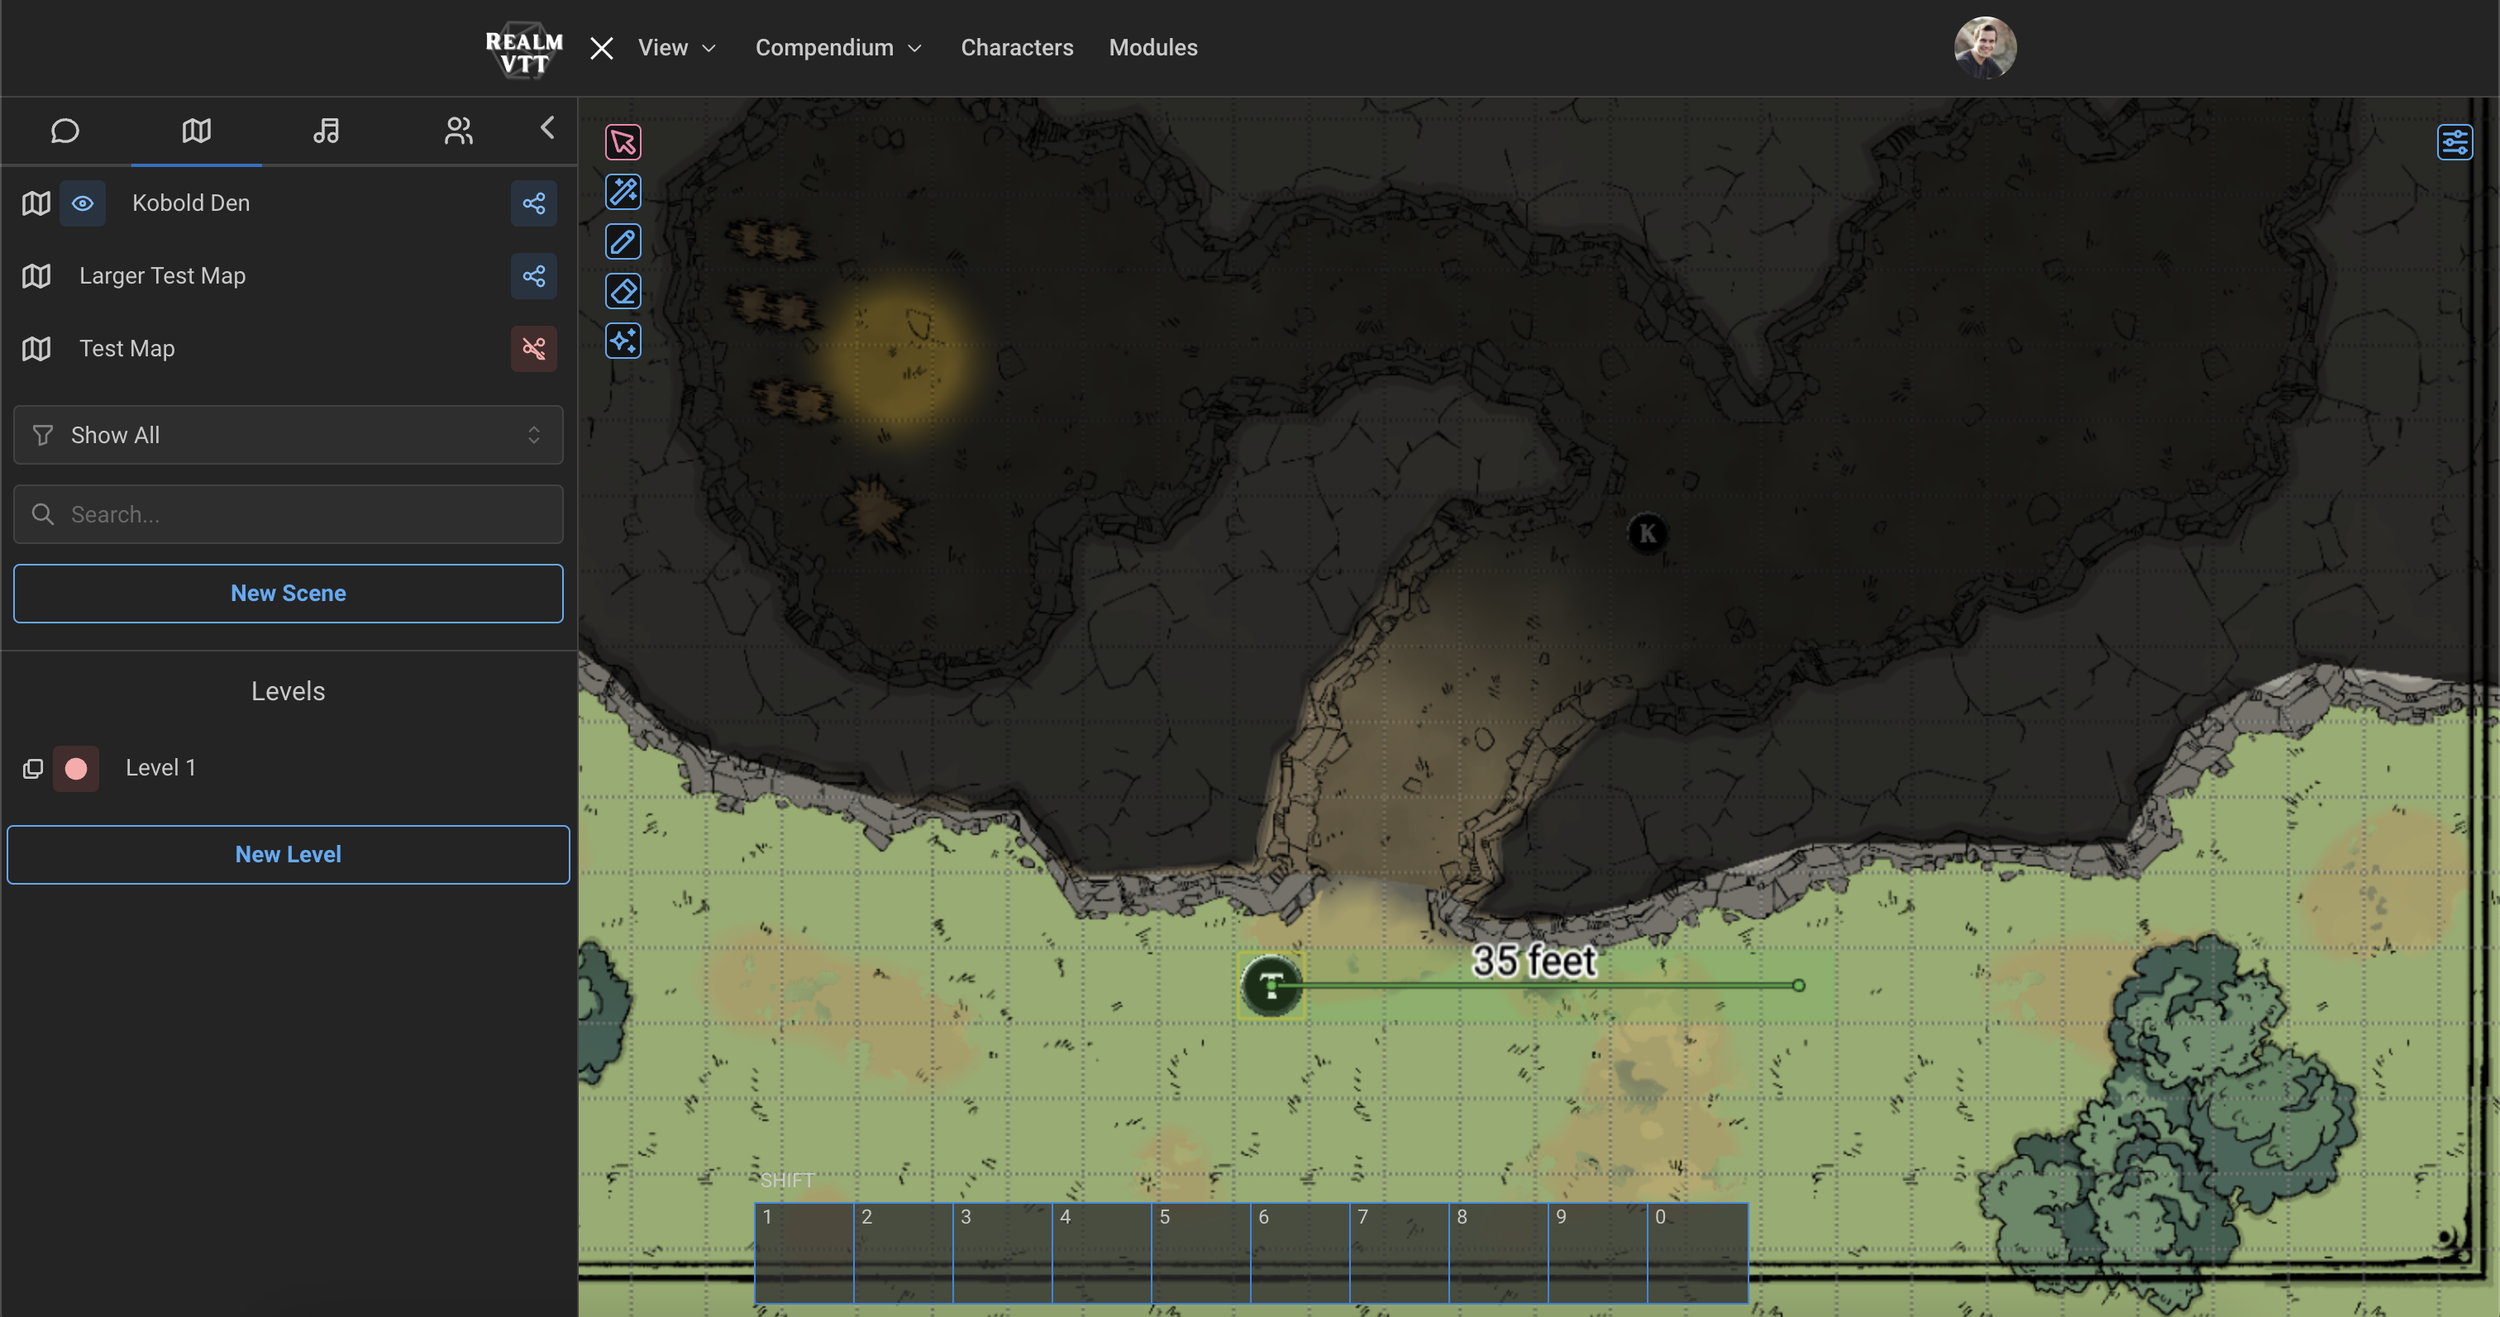
Tokens can be moved using W, A, S, D or Arrows Keys. Using the keyboard, you can move the selected token or all selected tokens. Multiple tokens can be selected by clicking and dragging on the Scene, or by holding Shift and clicking on another.
A single token can also be moved by clicking and dragging a token. Doing so will also use Pathfinding to find the most direct route to the destination, obeying any drawn walls or doors.
A Player can only move a Token that belongs to a Character they have ownership of, or if it is a Friendly NPC.
Scene Panning and Zooming
To pan a Scene right-click and drag anywhere within the Scene area. The scene will pan with your mouse.
To zoom in and out of a scene, scroll the mouse wheel up or down. By default, Scenes load in at around the center of the image at a mid-level of zoom.
Targeting
Some rulesets, such as D&D, require that the user “Target” an enemy token before rolling an Attack, so as to calculate the Hit or Miss for the GM.
To do this, by default, just hover over any token and press T to add it to the list of targets.
If you prefer that the T key always reset the current target, you can change this setting in the Settings Dialog under controls to. “Press T to Set Target and Shift+T to Add/Remove.” This setting will require SHIFT to be held when adding or removing a target from the current targets.
Sometimes it is useful to have more than one target when you have attacks or abilities that roll a check against multiple at the same time.
Open Record
You can double click on a Token on a Scene to open its record. If it is a Character Sheet it will open that Character record. If it is for a NPC (or other Record Type), it will open a Record Window for that Token.
Edits made to anything other than a Character Token only affect only that one Token, i.e., multiple copies of an NPC on the Scene each have their own Token and do not alter the original NPC record.
Edits made to a Character Sheet affect all instances of that Character (all of its Tokens) across all Scenes.
Note: If a token image is changed using the Portrait Tool in the Character or NPC sheet, you must refresh to see the changes if the Token was already loaded on the Scene.
Pause the Game
To prevent Token movement at any time, you can press “Spacebar” to Pause or Unpause the game.
Measurement and Templates
You can draw a quick ruler in order to measure distances on the Scene. To do this, hold Control and click and drag anywhere on the scene. It will render the ruler in your User’s Display Color.
Templates (Line, Circle, Square, Cone)
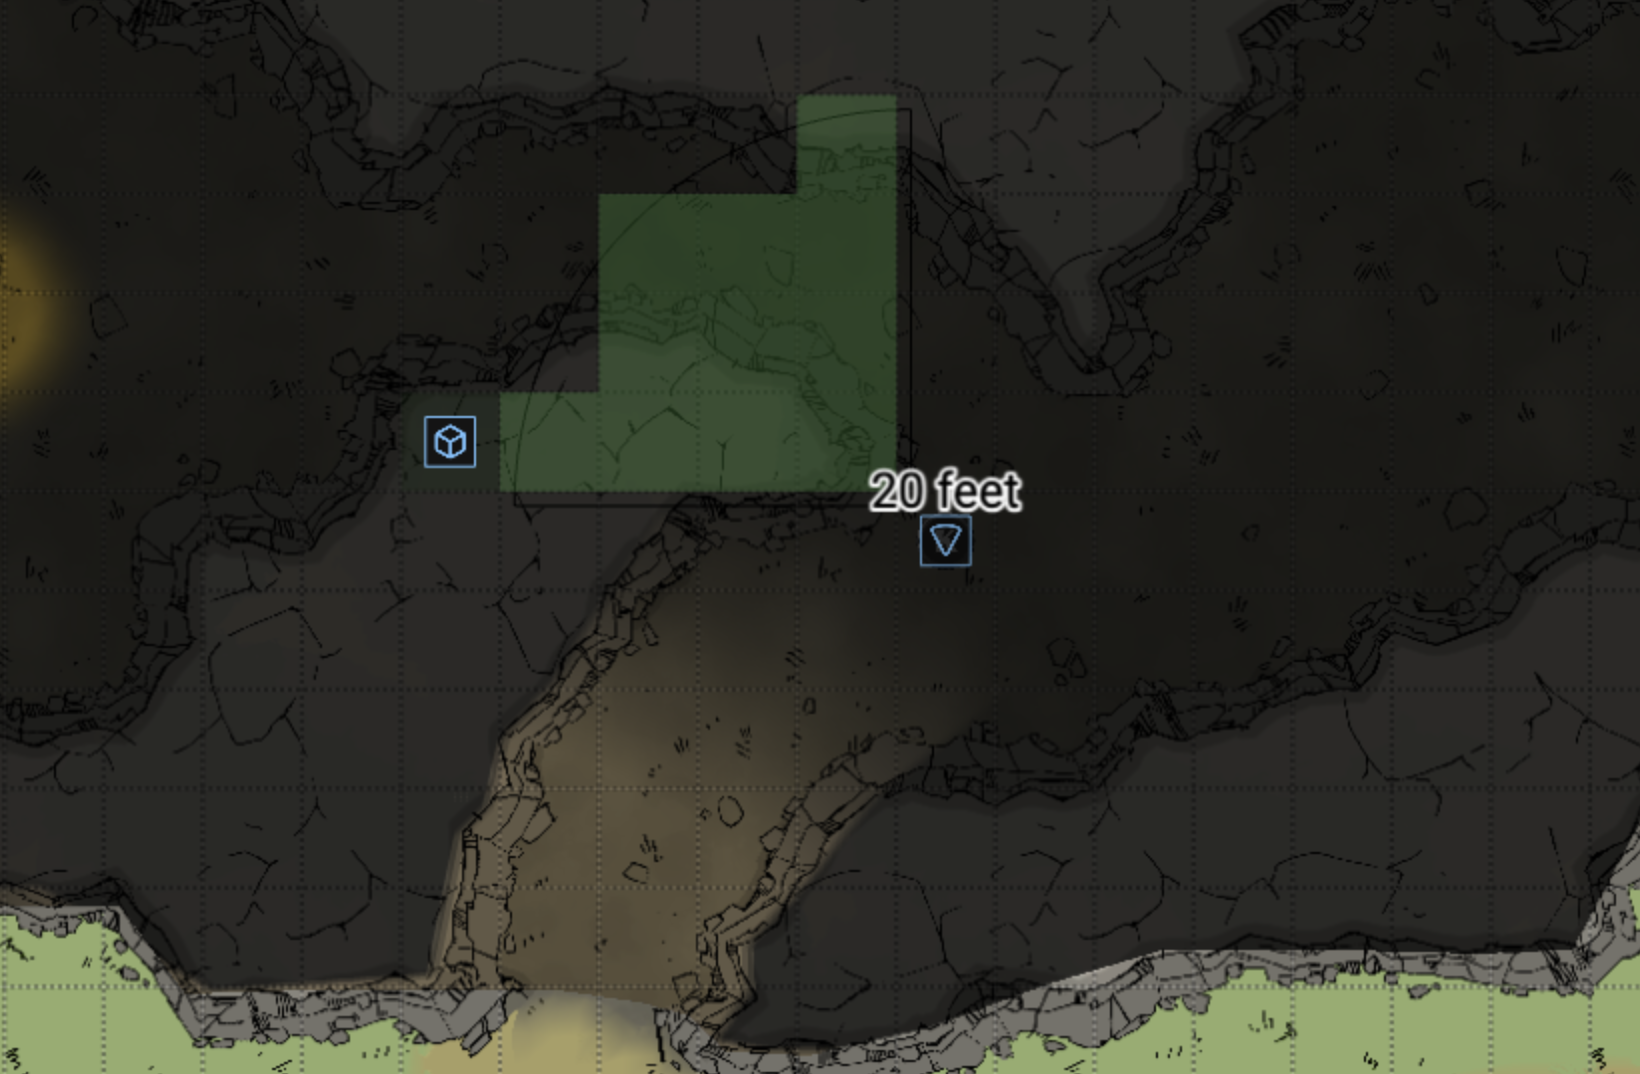
To create a template to measure a Line, Circle, Square, or Cone, you can click the Wand button on the top left, then select the desired Type. Once placed, templates cannot be resized or rotated, but can be dragged around. All Templates are shown in the same color as your User’s Display Color setting.
Lines
Draws a Line on the Scene and shows you the squares in which it effects. Click anywhere and drag in any direction.
You can also use the L key to toggle the Line tool.
Circle
Can be used to draw a Circle at a Point (a “Burst”) or as an “Emanation” from a Square. Hover over a point and click and drag to draw a Burst. Hover over a square and click and drag to draw an Emanation.
You can also use the Semi-colon (;) key to toggle the Circle tool.
Square
Squares can be drawn by clicking a square and dragging to the bottom right corner.
You can also use the K key to toggle the Square tool.
Cone
To draw a cone template, click on the origin square and drag in any direction.
You can also use the Apostrophe (‘) key to toggle the Cone tool.
Deleting Templates
Delete a Template by clicking on then clicking the Delete or Backspace key. Or, you can click the Clear All button at the bottom of the Template buttons (shown when clicking the Wand icon).
Selection Tool
When done drawing template, remember to click the Arrow button to go back to the Selection tool so that you can select tokens on the Scene.
Drawings and Scene Pings
Drawing on the Scene
Click on the Pencil Icon in the top-left of the Scene to open the Draw Tool. Click and drag anywhere to draw on the Scene. Drawings are shown in your configured User Display Color (just like Template and the Measurement Tool.)
To erase one use of the Draw Tool, click the Eraser Icon, then click near the segment you wish to remove.
The GM can remove all drawings on the Scene by clicking the Clear button beneath the Draw Tool button.
Pinging the Scene
Both Players and GMs can ping anywhere on the Scene using the Tilde (`) key or pressing and holding the Left Mouse button (or a single finger on mobile devices.) If using Tilde, point where you’d like to ping and hit this key on your keyboard.
If a GM holds down Control while pinging the map, it will render the Ping in Red and pan every Player’s screen to that ping.
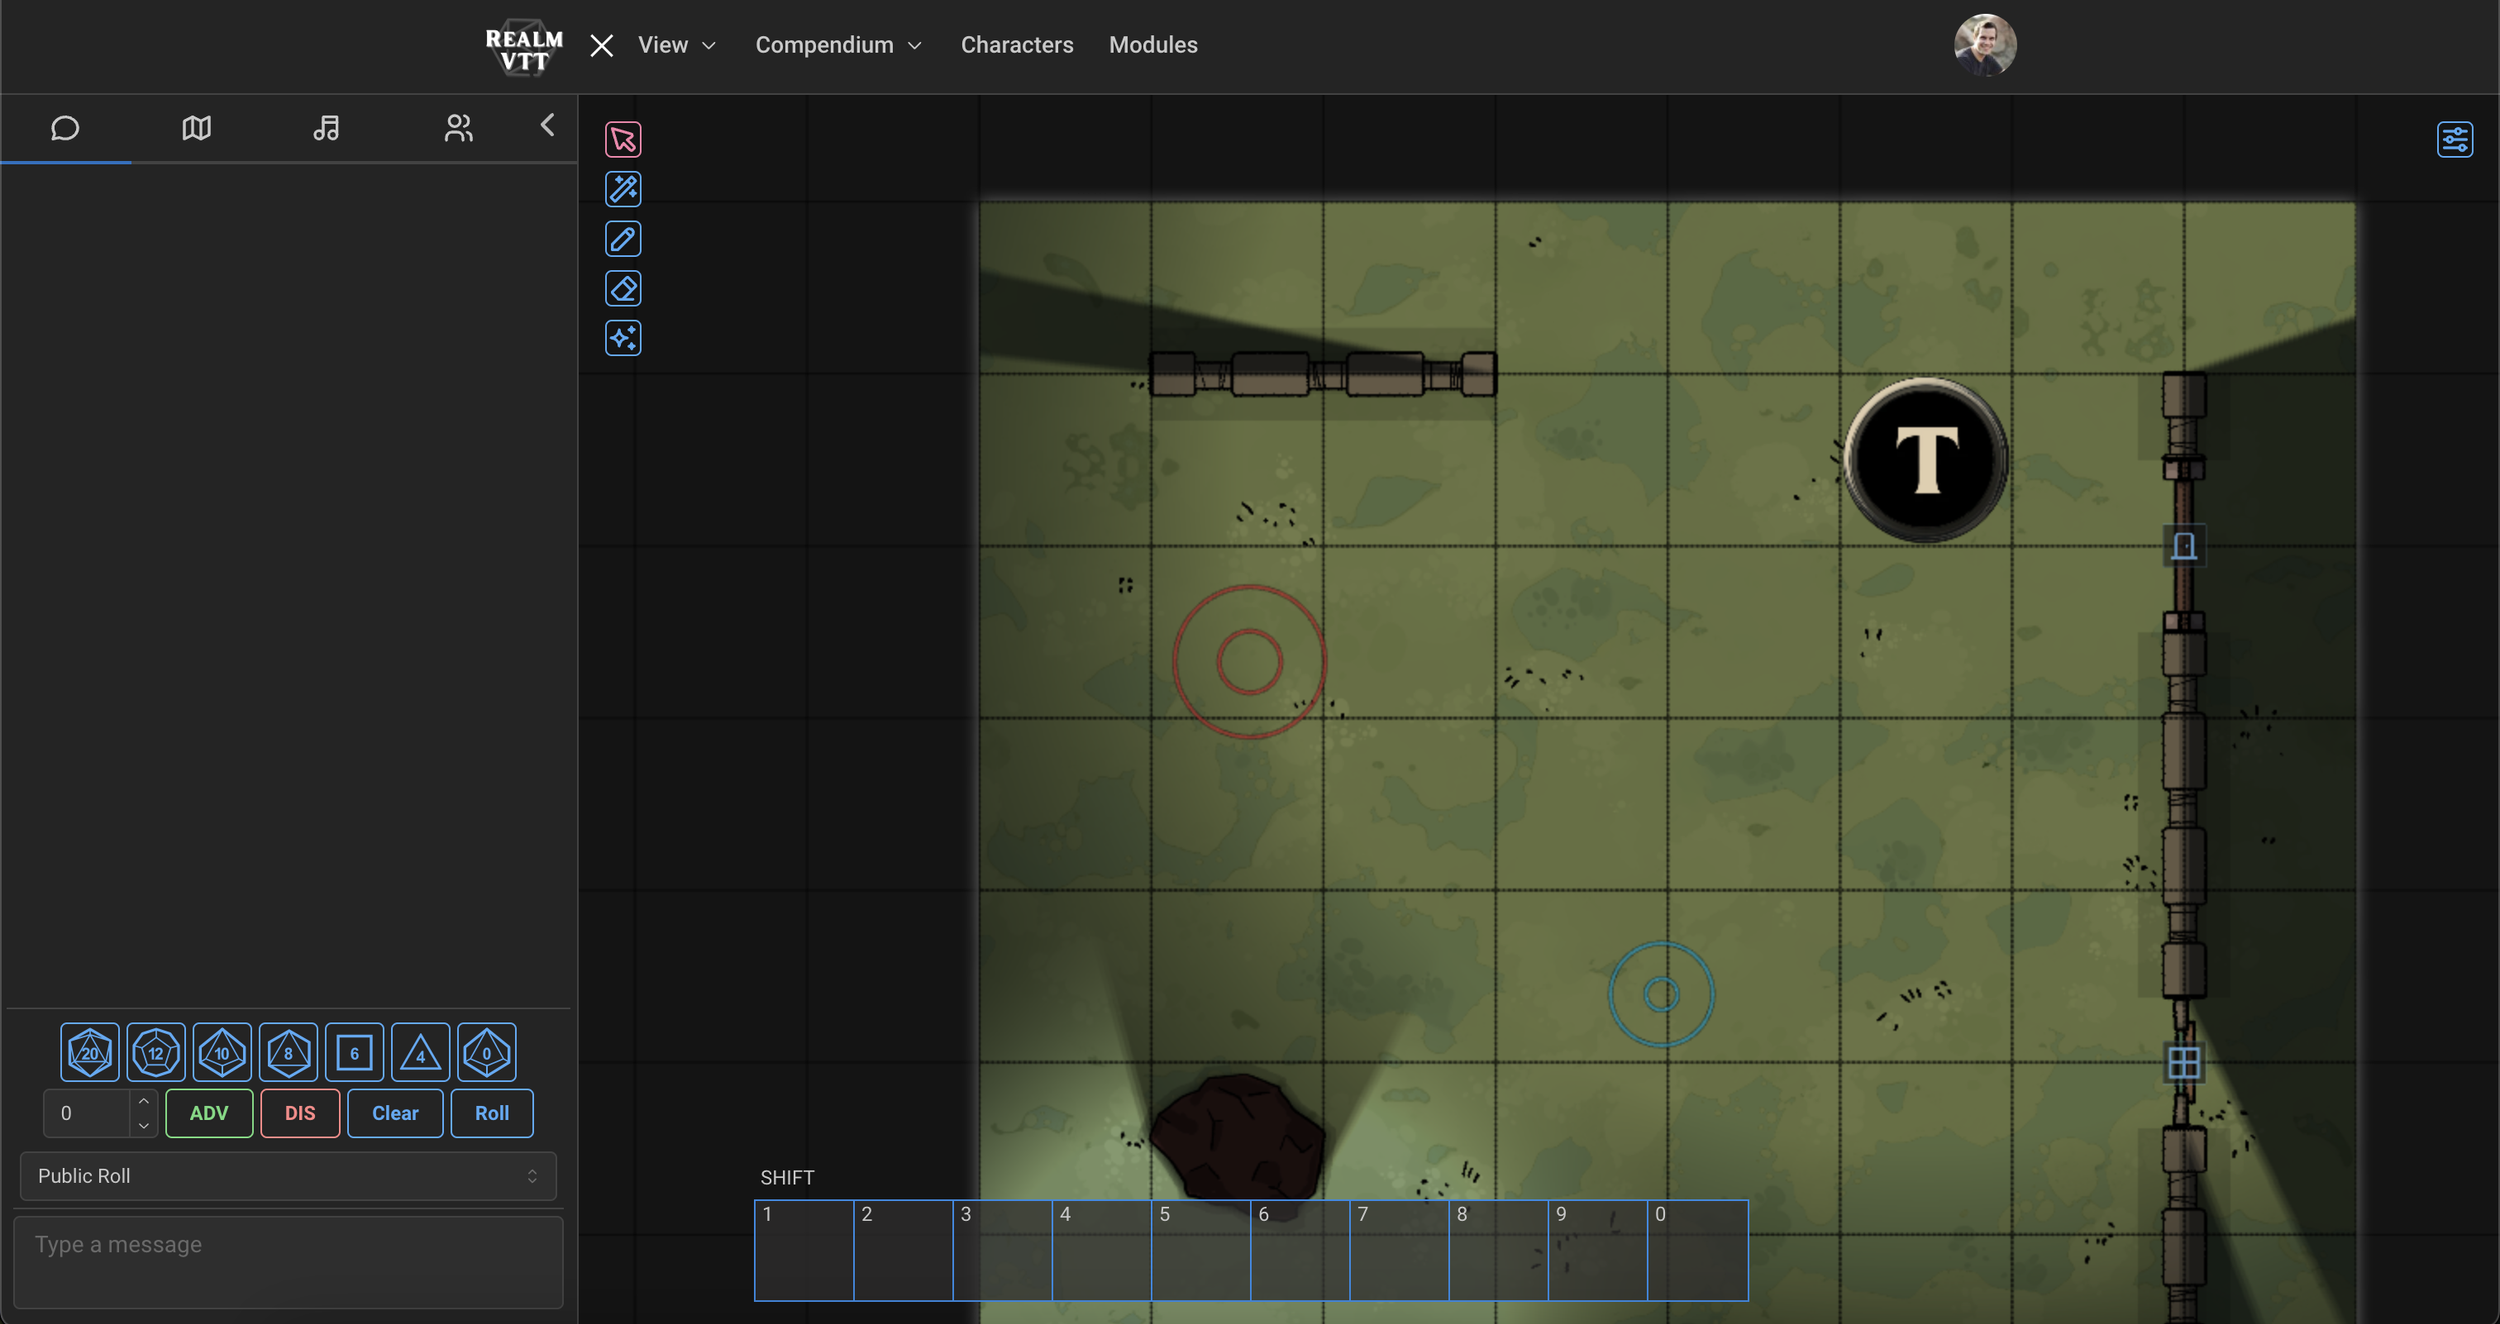
Token Context Menu
To open the Token Context Menu, simply Right-click on any Token on the Scene.
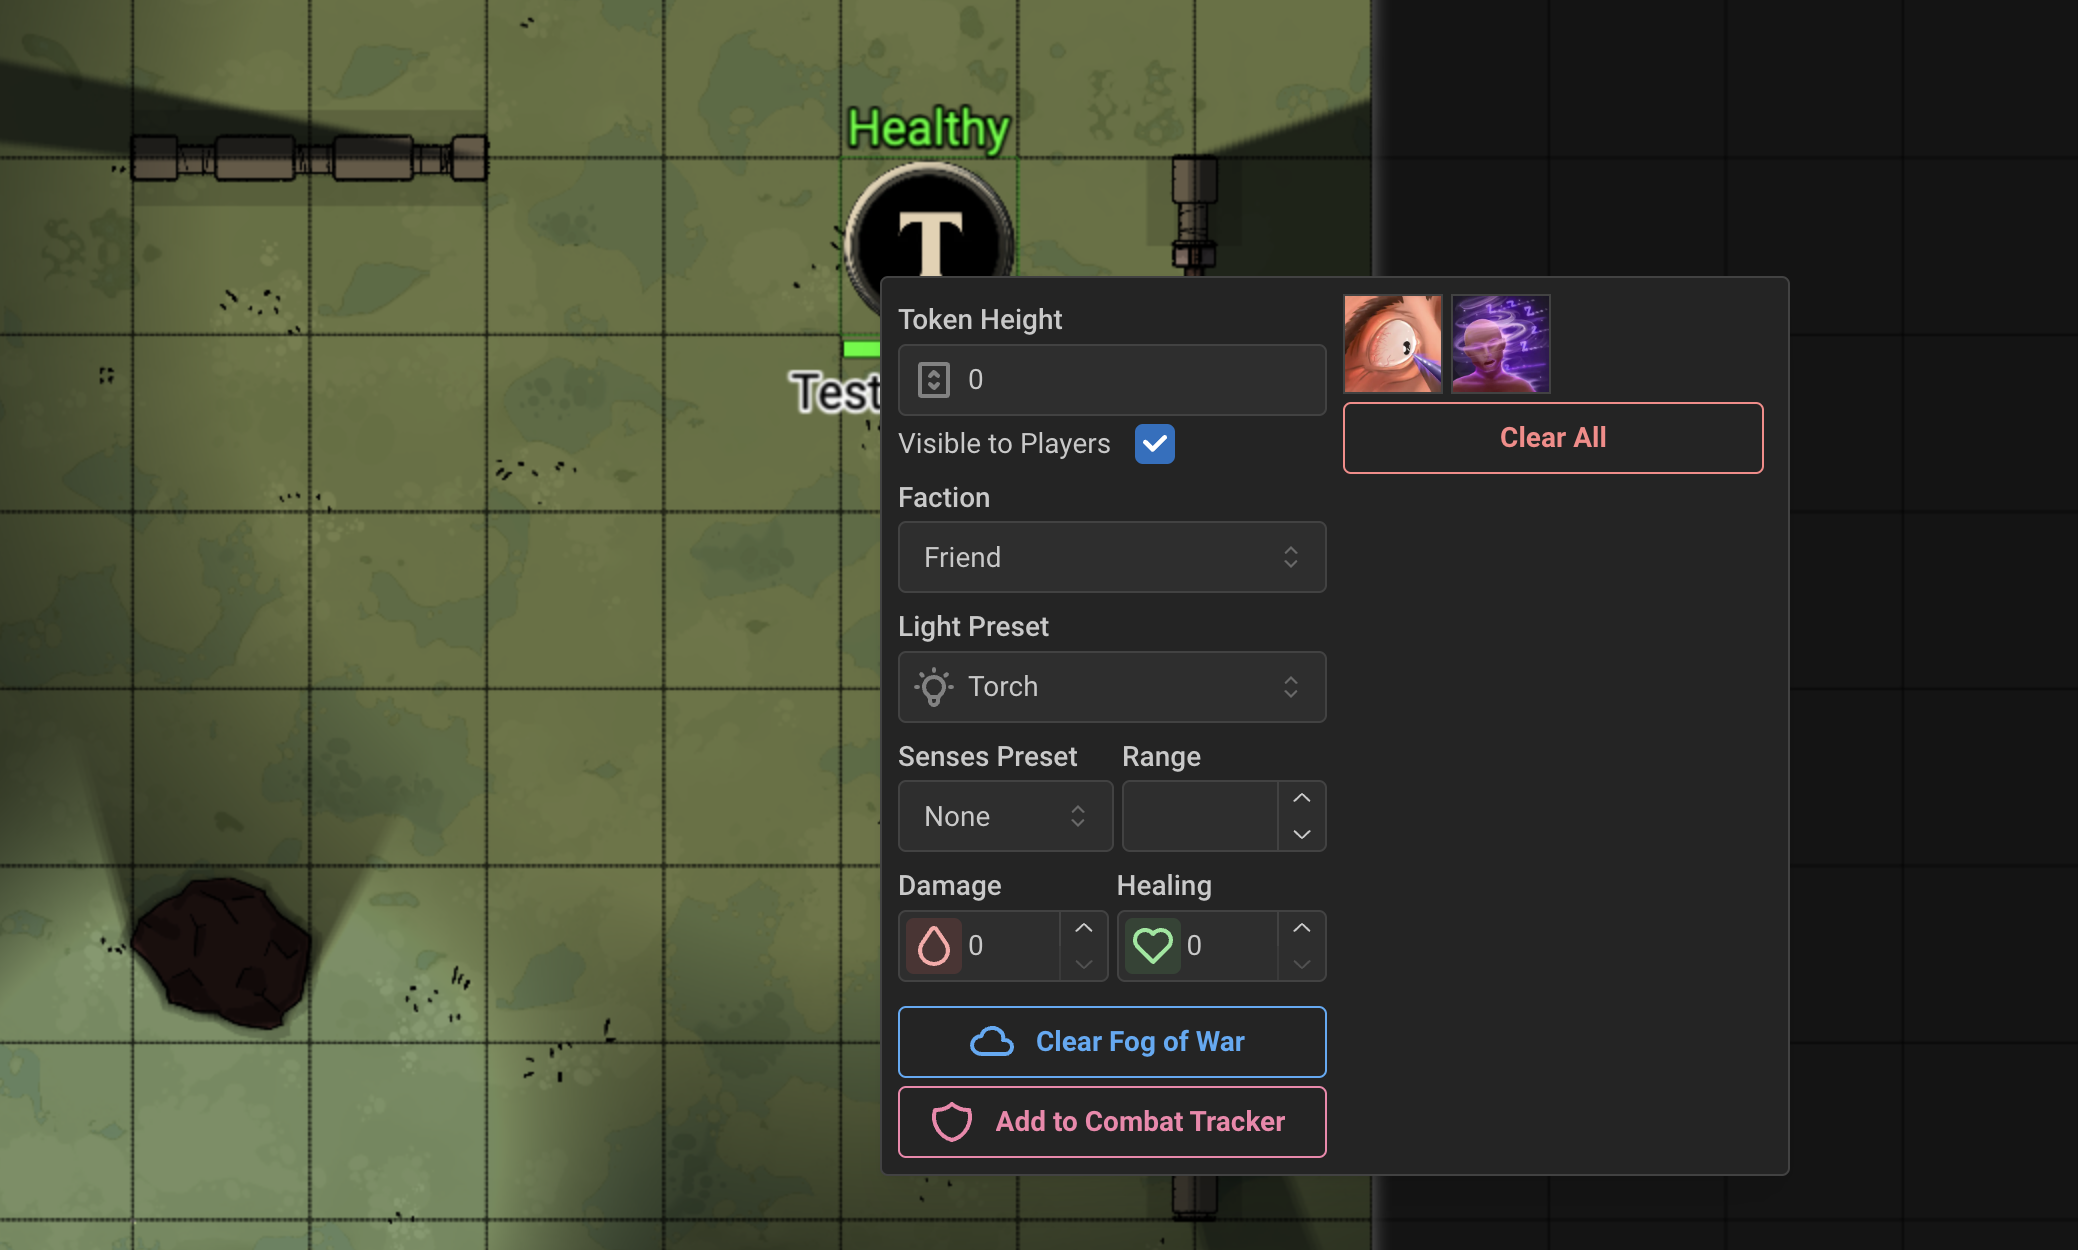
From the Token Context Menu you can make the following edits to a Token.
Token Height: Set’s the “Z-index” height of a Token. Useful to indicate if a token is flying or is higher than the others. It will be displayed on the Token on the Scene. Token height is factored in to distance calculations by the API if the Ruleset uses it.
Visible to Players: You can click this checkbox here to toggle the visibility of a Token on or off. The GM will still see it, Players will not. You can also use the “V” key on the keyboard for selection Tokens to toggle it on them all.
Faction: Use this dropdown to set the Faction of a token. Characters are Friendly by default. NPCs are Enemy by default. A Friendly NPC can be controlled by Players. Players can also open the record of a Friendly NPC by double clicking it.
Light Preset: From the Light Preset dropdown you can easily add a “Torch” or “Flashlight” effect to a given token if they need light.
Senses Preset: From the Senses Preset dropdown you can easily add a “Darkvision” or “Truesight” effect to a token if they can see in areas of darkness. If higher Graphics Settings are enabled, Darkvision is rendered in grayscale.
Range: Set the Range of a Senses preset to 0 for unlimited, or enter the number (in units) here (i.e. if the squares are 5 feet each, enter 60 for 60 feet range.)
Damage & Healing: If the current ruleset supports it, these fields will be rendered to easily apply damage or healing to the selected Token.
Clear Fog of War: If Fog of War is enabled, you can clear the “memory” of a selected Token using this button.
Add to Combat Tracker: Use this button to add all selected Tokens to the Combat Tracker.
Effects: If the campaign has Effects defined (or loaded from a Module) with the “Token Menu” option selected, they will show up in the Context Menu per the above screenshot. Clicking on the icon for the Effect will apply it to the Token you right-clicked. If the Effect was stackable, it will apply it again, else it is ignored. Unlike “Add to Combat Tracker” this will not apply to all selected Tokens.
The “Clear All” button removes all Effects applied to the Token.
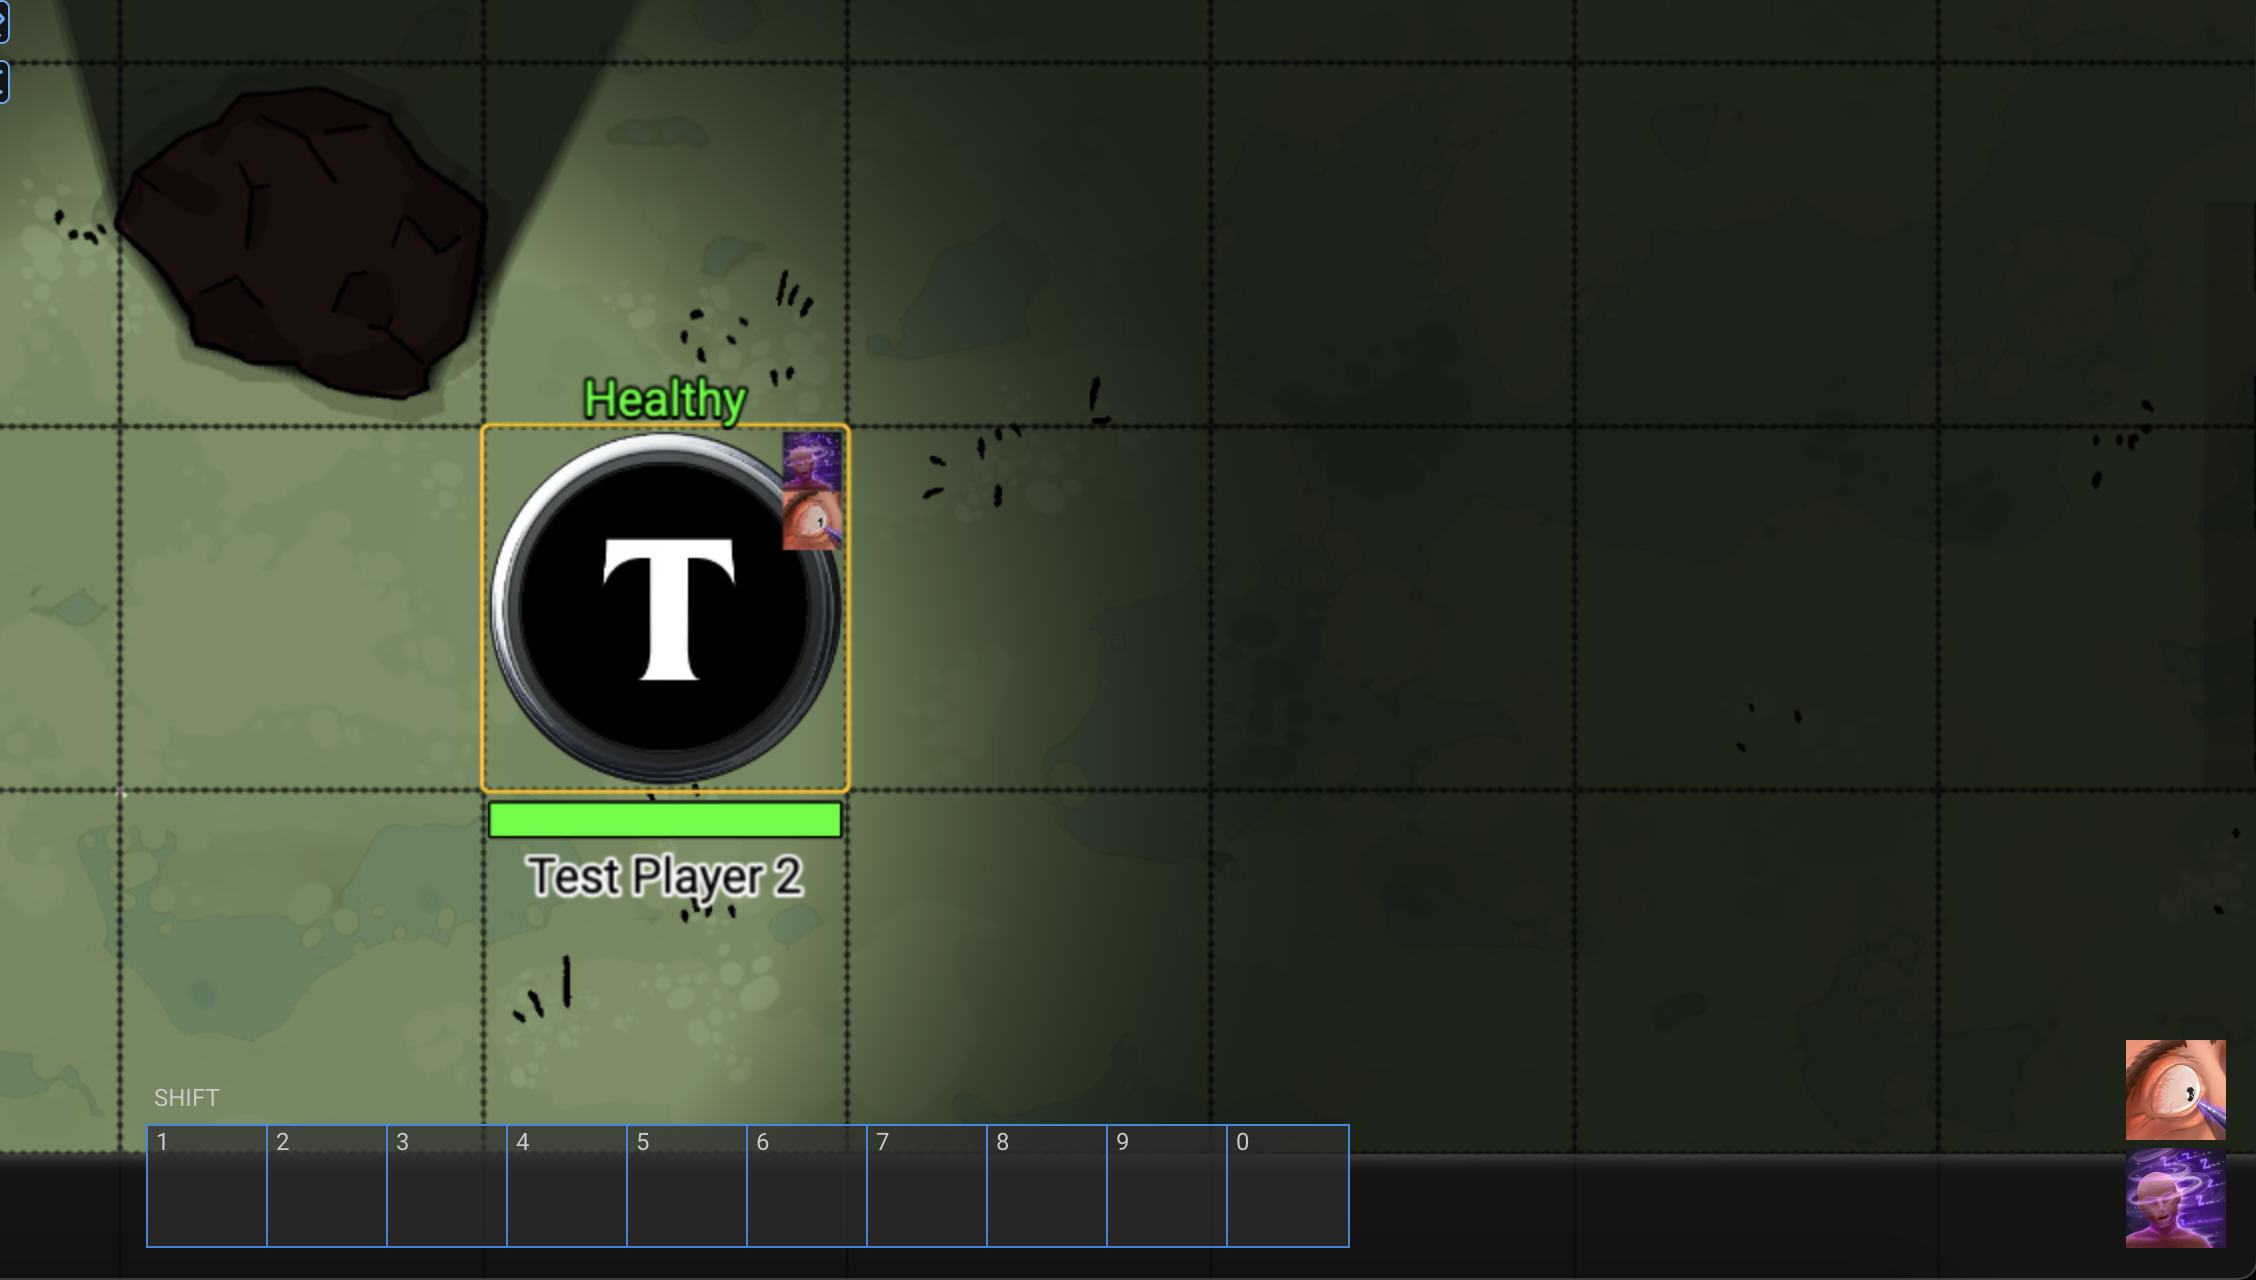
Applied Effects show up both on the Token in the top-right (up to 6) and all are shown in the Effects Overlay when clicking on a Token. (See Screenshot.)
To see the description of an applied Effect, click the Token, mouse over the icon in the bottom-right overlay to see the name, description, and duration or additional value (if set.)
Effects will durations will automatically expire:
Using the Combat Tracker, via the Next Turn or Next Round button, if Duration is in Turns or Rounds
Using the Calendar, via the buttons to Add Time, if Duration is in Seconds, Minutes, Hours, or Days
